How to fill a skip
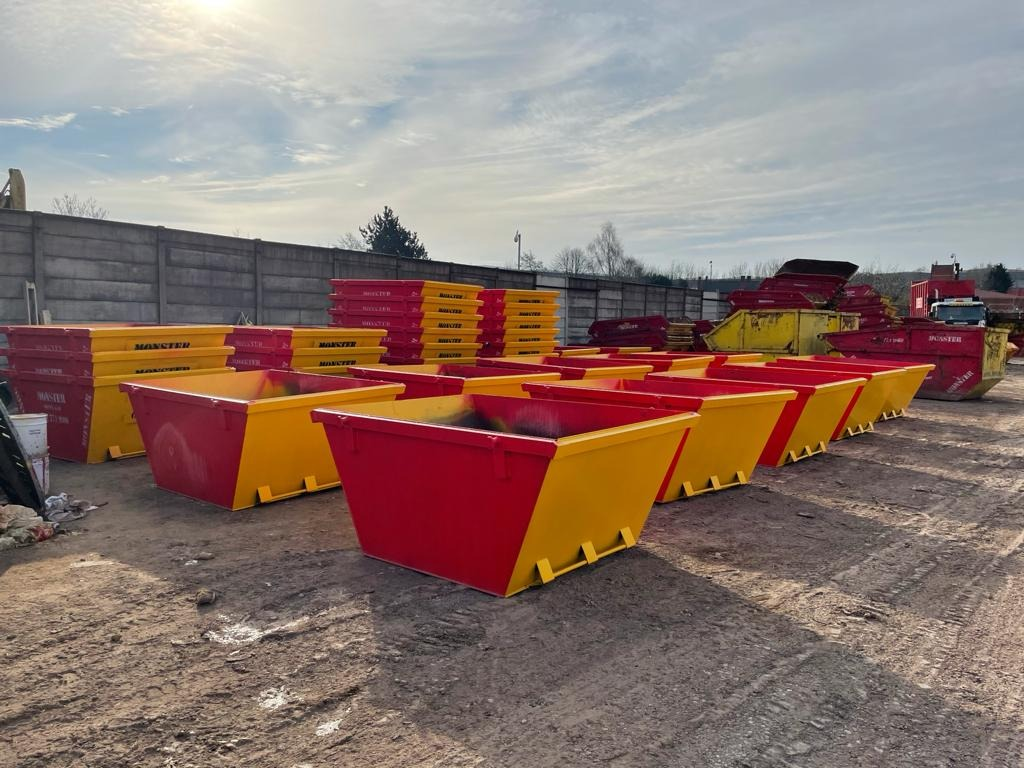
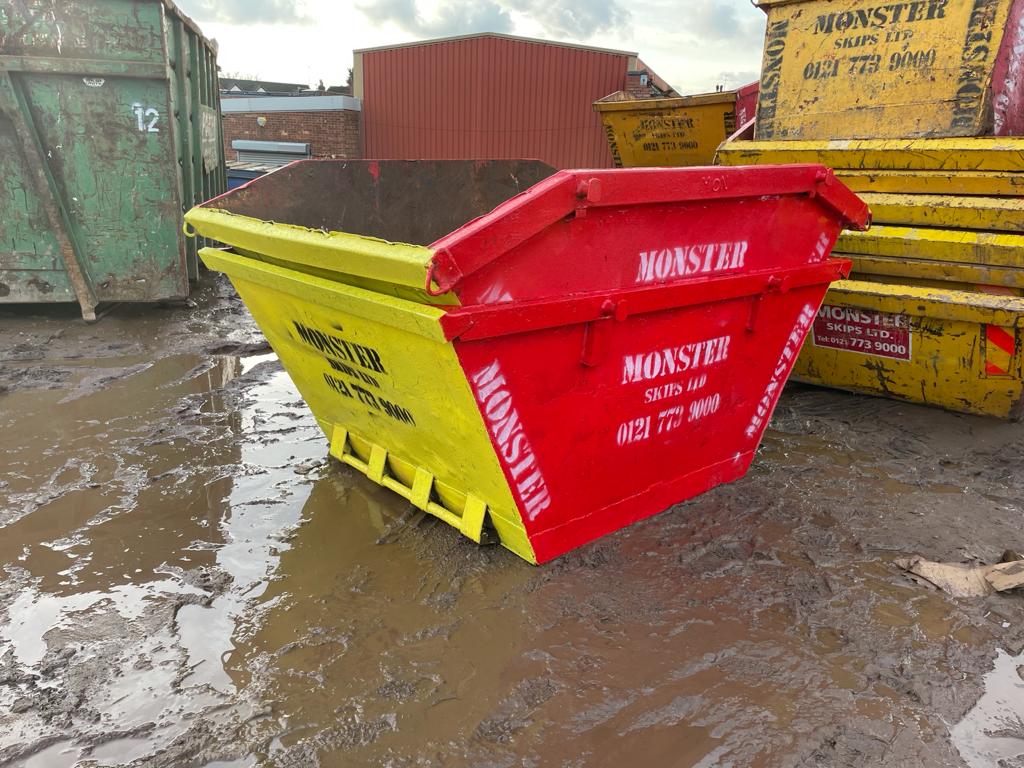
Have you realised that you should have ordered a bigger skip? Don’t worry, we can explain how to fill a skip and organise it so that you can maximise the space that you have. If you’re looking for skip hire in the West Midlands area in the UK, get in touch with Monster Skips today.
Step 1: Research what size skip
How to fill a skip can be a much easier process if you know what size skip you’re getting. Skip services will offer different sizes of skip and give advice as to what size they think you’ll need. Skips are measured in cubic yards- one cubic yard measures 3 feet high x 3 feet wide x 3 feet deep. You can get a 2 yard skip, 4 yard skip, 6 yard skip, 8 yard skip and more. Skips also have names including a mini skip, midi skip, maxi skip and builders skip.
Step 2: Use a wheelbarrow
The secret tip to how to fill a skip is by using a wheelbarrow. This can make it a much easier process to move items from the waste to the skip.
Step 3: Keep it tidy
Organising is one of the most effective ways to maximise skip space. Layering different types of items at different times will mean that gaps within the skip are kept at a minimum. Try organising separate piles of flat items and tessellate objects (objects that can be stacked together). As well as this, you want to make sure that larger items are broken down as much as possible, for example, flat-pack furniture can be unscrewed.
Step 4: Flat items
Now it’s time to get around how to fill a skip! Organising your items is now finished, and it’s time to fill the skip! You need to first place all of the flat items. This could be flat panels of wood, doors, cardboard or plasterboard. These should lay flat at the bottom of the skip, so they can be pushed down by the rest of the items that need to be placed into the skip.
Step 5: All objects that can be stacked together
Items like bricks can go into the skip next. Fill the bottom of these skips with these objects, on top of the flat items. Make sure that when you put them down, you place them in an orderly manner so that they are stacked together with minimal gaps.
Step 6: Large items
Before placing any large items in the skip, make sure that it is broken down as much as it possibly can be. Create layers with these items and fit them together like a puzzle. Use the space provided and then fill the gaps up with other items.
Step 7: Filling the crevices with loose debris
Loose debris can go on last so that they can sink into the crevices where you are unable to place larger items. Don’t forget that any garden waste can go into the skip too, so get all the green waste you can! Other items you may want to fill the skip with can include gravel and sand.
Step 8: Leave yourself enough time
You’ll be able to keep your skip for 14 days, but make sure that you have enough time to return the skip on the 14th day! Aim to have everything in the skip by the 13th day so that you’re ready for the 14th. Get stuck in as soon as possible!
What can’t go in a skip?
If you’re not sure what can and can’t go in your skip and you would like some more information, take a look at our blog!
- Liquid waste of any kind
- Batteries
- Fridges
- Freezers
- Televisions or computer screens
- Fluorescent tubes
- Clinical waste
Thank you for reading our blog ‘How to fill a skip’. If you are looking for skip hire in the West Midlands area, take a look at Monster skip hire today.
Read More: How long can you keep a skip?